Today Grant’s class celebrated Earth Day.
I’ve been needing an excuse to learn how to bake with clay pots.
{It seems like all the rage, ya know.}
I was delightfully surprised at just how easy it was…
So I present to you…..my very own Baking with Clay POTS step-by-step guide.
{Before we begin…let me let you in on a tip. If you are in need of the mini clay pots, check Hobby Lobby. They package their clay pots in groups of 6. And chances are…half of those 6 will be broken. Which means…you take up your packages and tell the manager you want/need a discount. You’ll hopefully score like I did. I paid $3 for 24 clay pots total. Otherwise, they would’ve been $2.27 for a package of just 6. So I learned my lesson. It never hurts to ask the manager for discounts.}
Before baking the cupcakes, make sure and wash the pots with soap and water and dry completely.
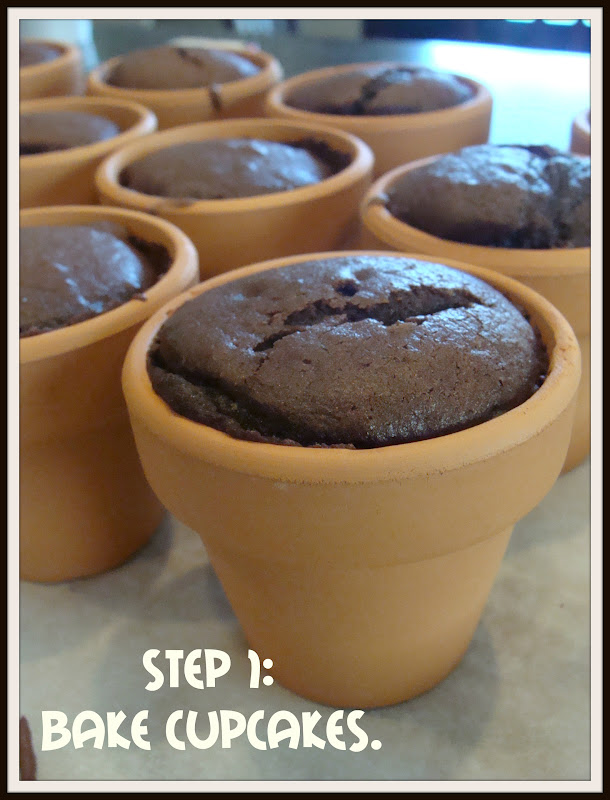
Since the pots contain a tiny hole at the bottom, you’ll want to cover this up. You can use parchment paper to do this or….as I did….you can use a mini muffin liner that fits down there perfectly.
I used just a regular ole boxed cake mix.
Fill the pots 3/4 full of batter.
Line a baking sheet with parchment paper and place the pots on top to bake.
You’ll bake as the back of the box directs…however the baking time will take a tad bit longer.
Pots will be HOT when coming out of the oven.
Make sure they cool completely before proceeding with the next step.
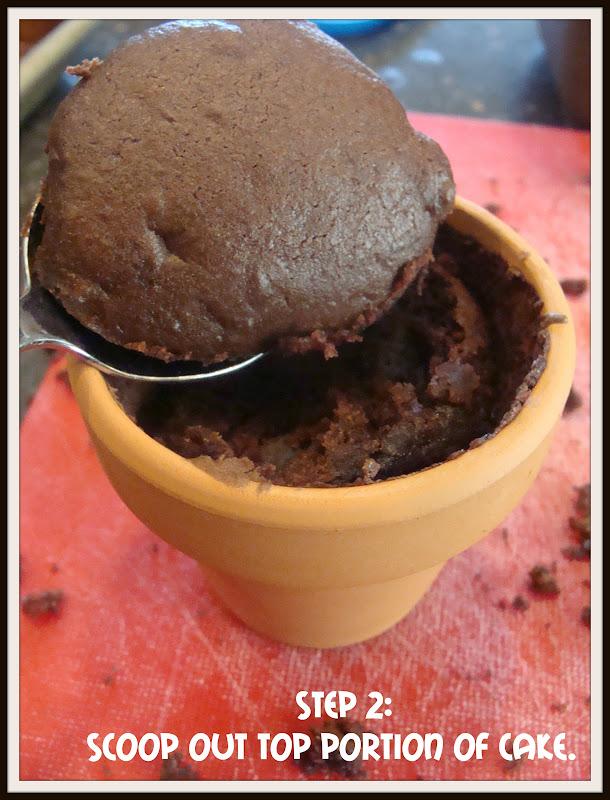
It should look like this now:


Honestly…how SIMPLE is that???
The possibilities with these cute little pots are endless! I’m already planning out my next project with them!

Umm… the last few pictures are no shows 🙁