
Last week Carson’s teacher had a birthday.
I organized the ‘group’ gift from the class {a small $5 donation from those who wanted to participate} and then put it all together. We were able to get her a couple of gift cards: pedicure and restaurant and then at the last minute I got some extra money and decided to just add a $20 bill on there too. {Because what teacher wouldn’t love some cold hard cash, right?!}
I needed a cute way to present it all and I’ve been dying to try my hand at a candybar cake of sorts.
It was surprisngly easy and I only had 2 or 12 samples as I made it.
{Smile.}
Here’s what you’ll need:
* About 4-5 pacakges of fun sized candybars
* Depending on how big you want your base to be –
2–12 packs of the MINI soda cans
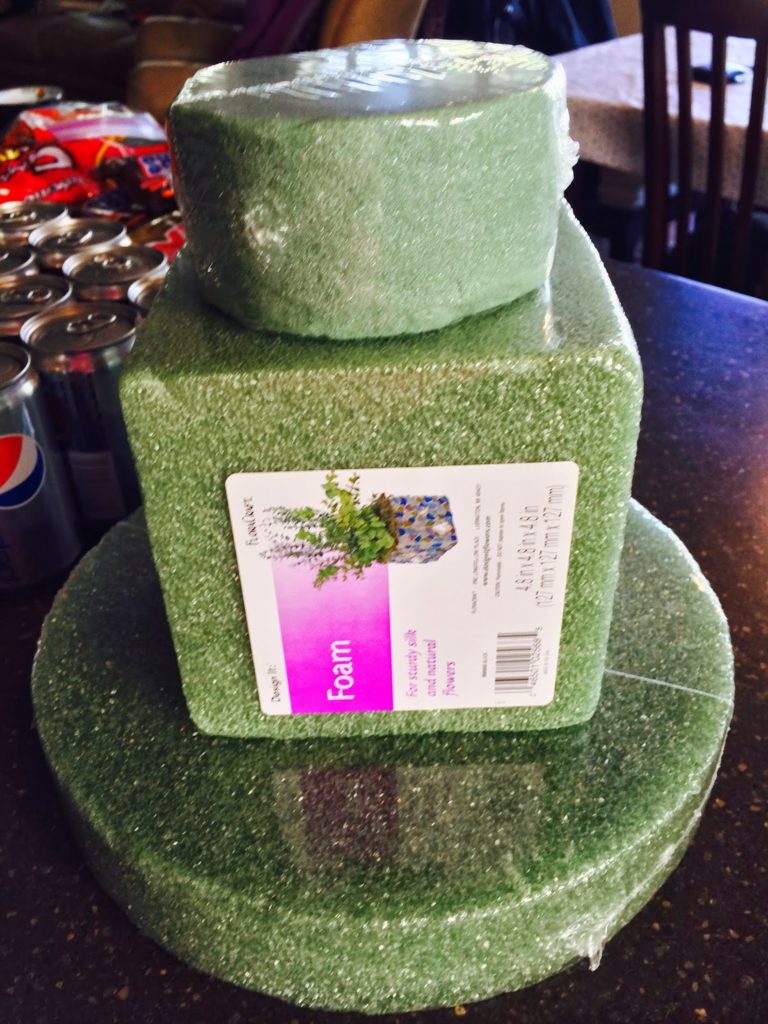
* And 3 of these floral sytrofoam bases.
{I’ve found that Wal-mart has these for the very cheapest price.}
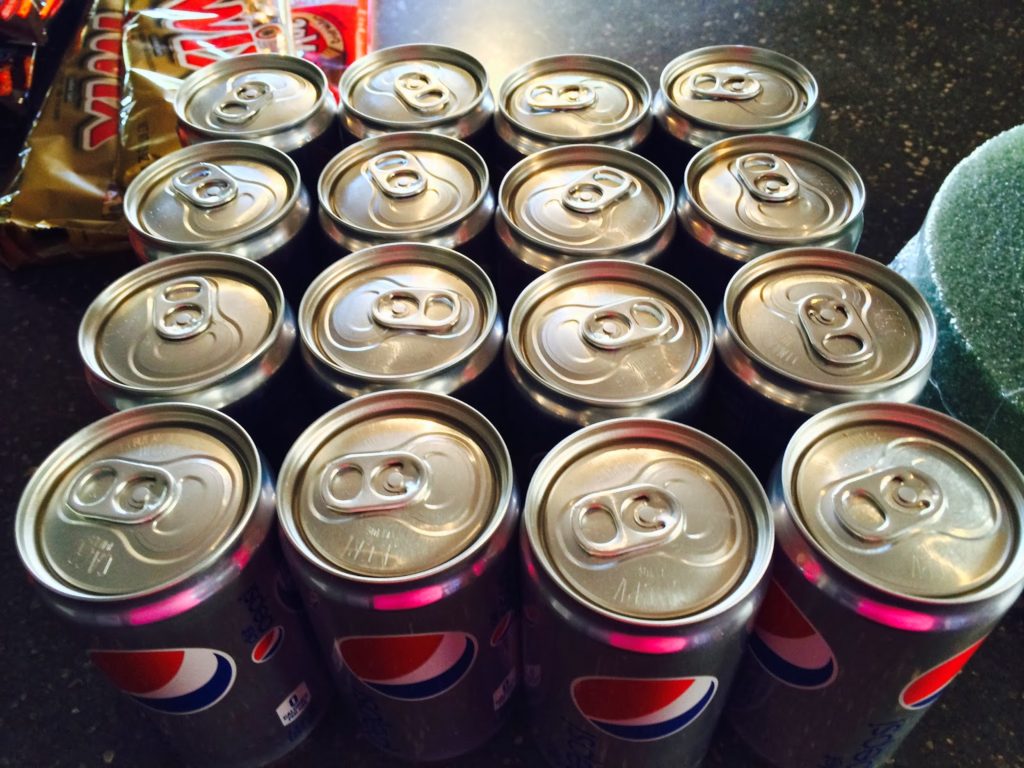
1. Line up your bottom base
with the soda cans.
Once you have them as you’d like, get some clear packaging tape and wrap the center together, and then the outside together. Doesn’t matter if the tape shows, because you’ll cover it up with ribbon.
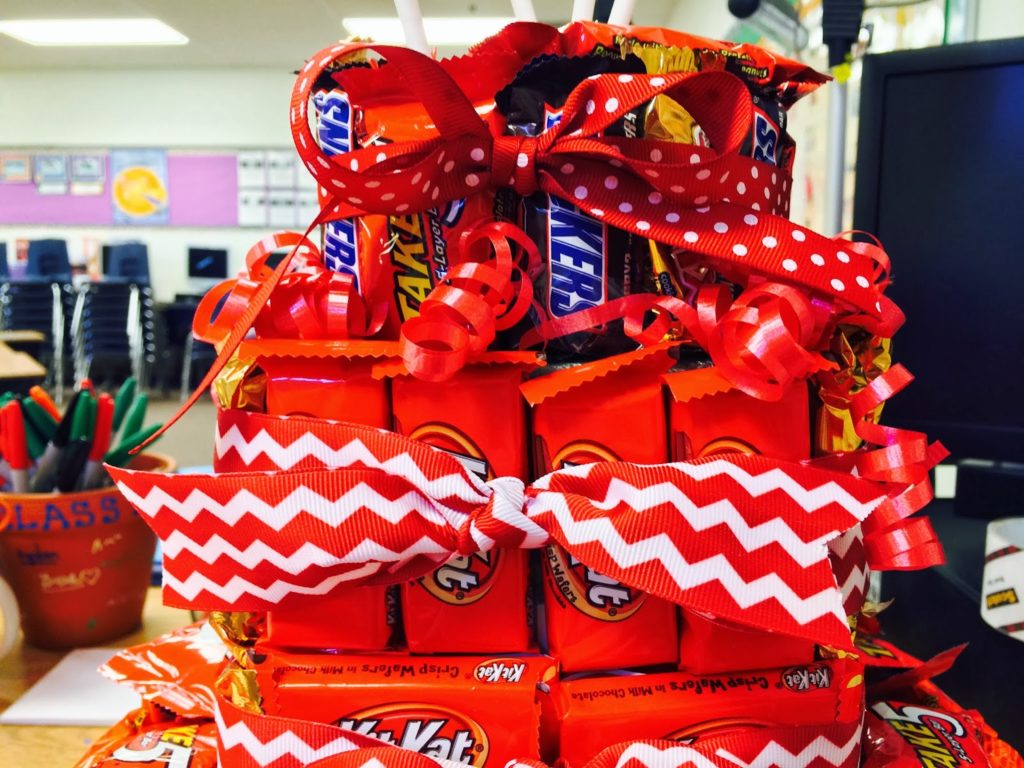
2. Loop roll your packaging tape now {so sticky side is out} and stick each of your candybars around the circular big piece of styrofoam.
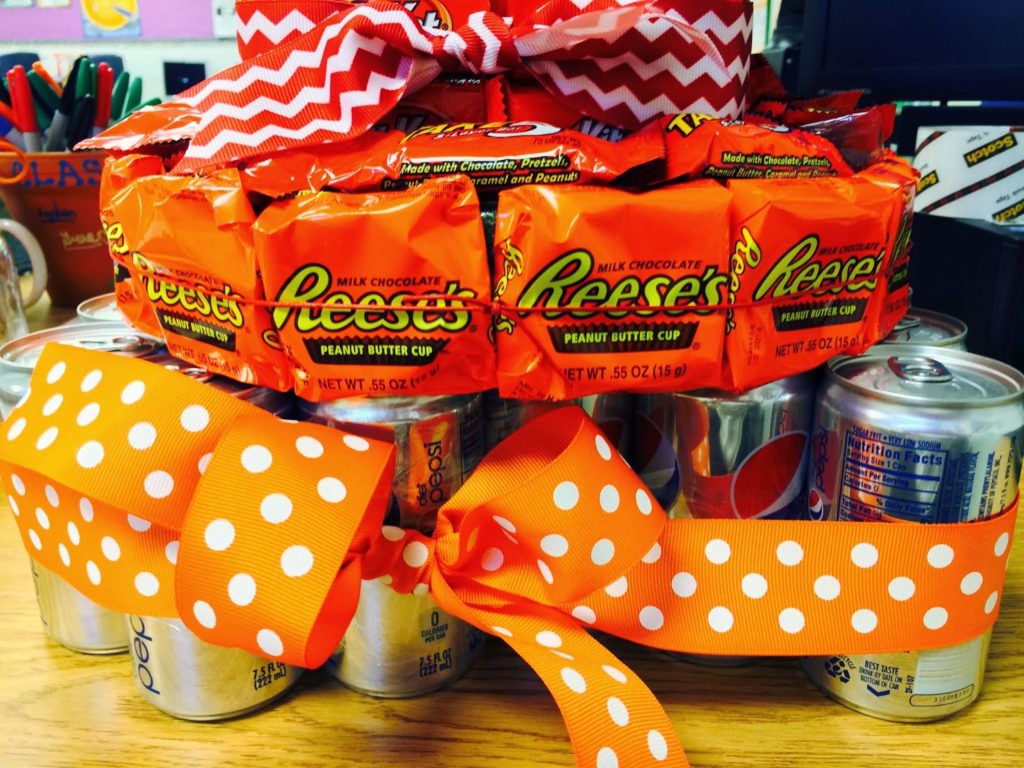
I found that some of the candybars wanted to fall off so I then secured them all with a piece of ribbon around the whole thing.
You may have to add some extra candybars on top of that layer, so that no green styrofoam shows.
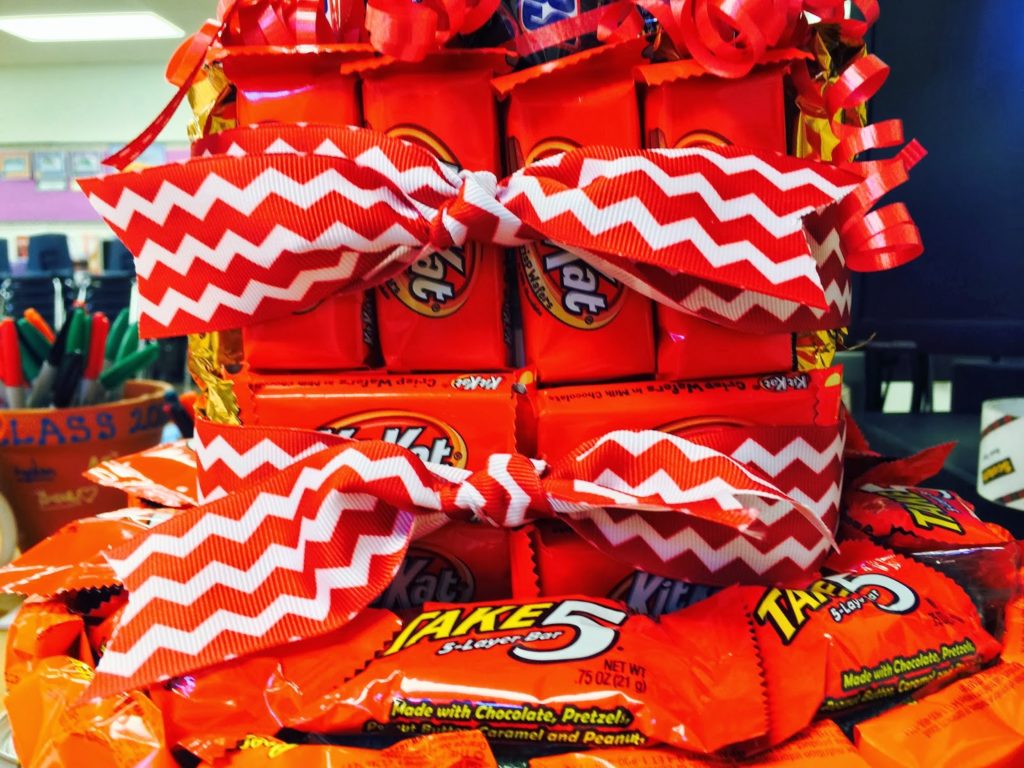
3. Take your next batch of candybars and do the same thing around the square layer and the small circular layer.
Again…you’ll want to tie ribbon around it all so that it holds securely.
You can attach each layer but double looping your packaging tape and laying it down on the bottom of each layer, while stacking the next layer on top.
4. Take your gift cards and birthday card and attach them onto either a skewer stick or lollipop stick with Scotch tape on the back. Dig those right into the top layer of sytrofoam to secure.

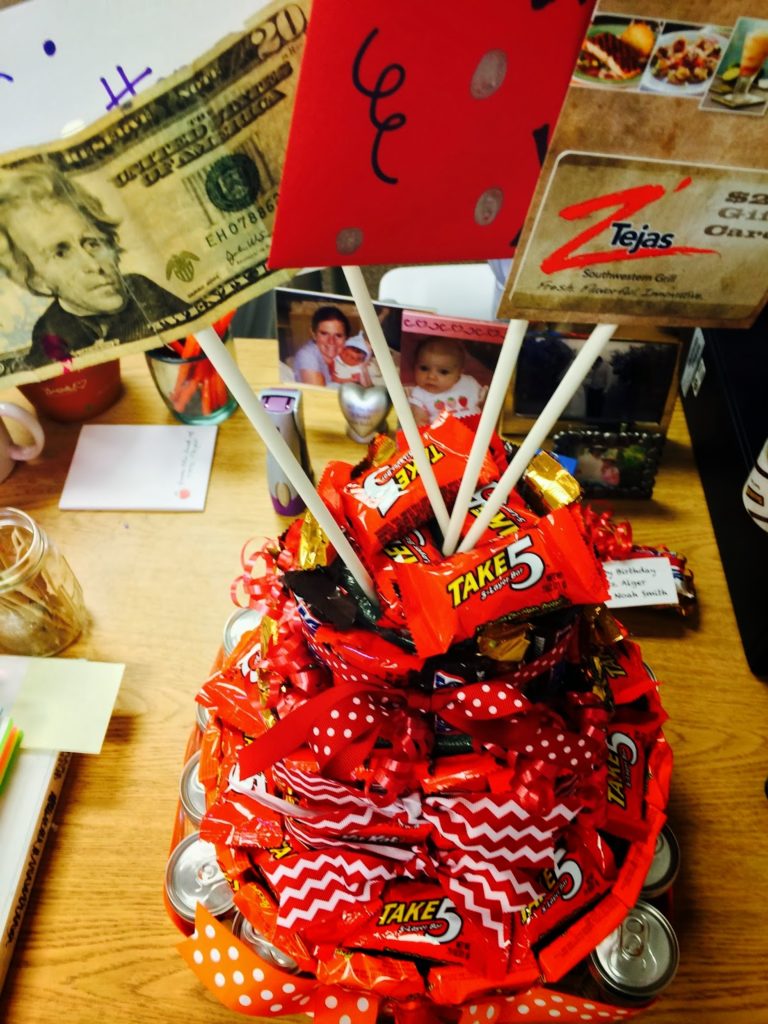
That’s it!
Surprisingly it didn’t take too long, either!
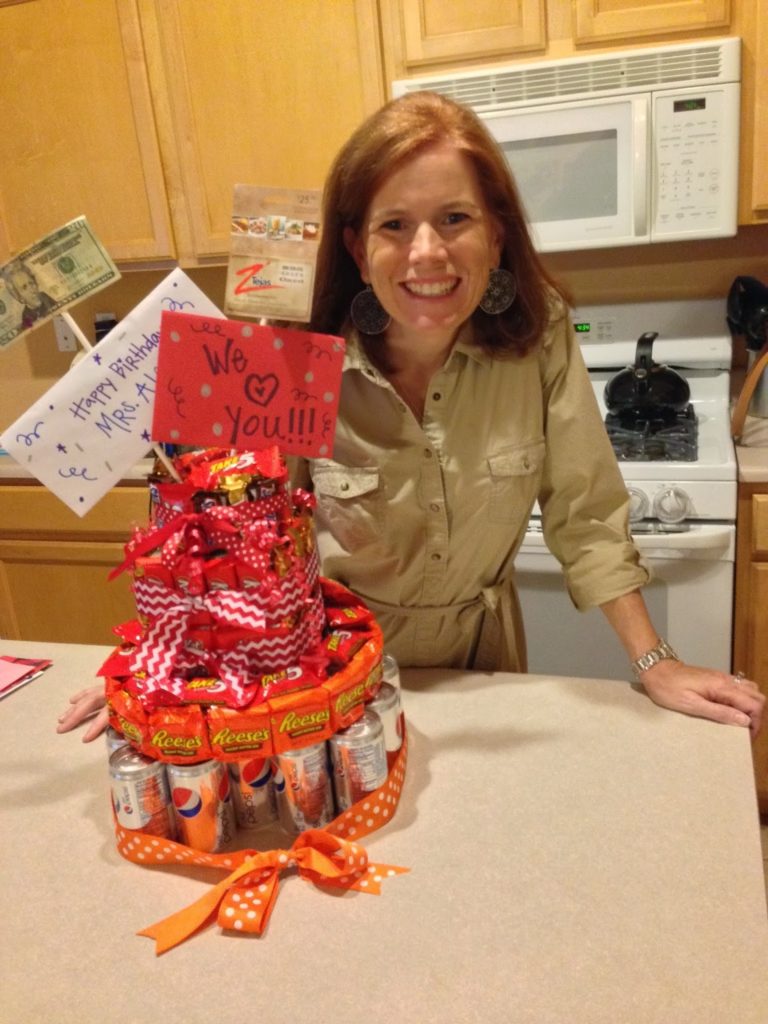
Be prepared when transporting this. It’s HEAVY! I had to place mine onto a cookie sheet and carry it in that way.
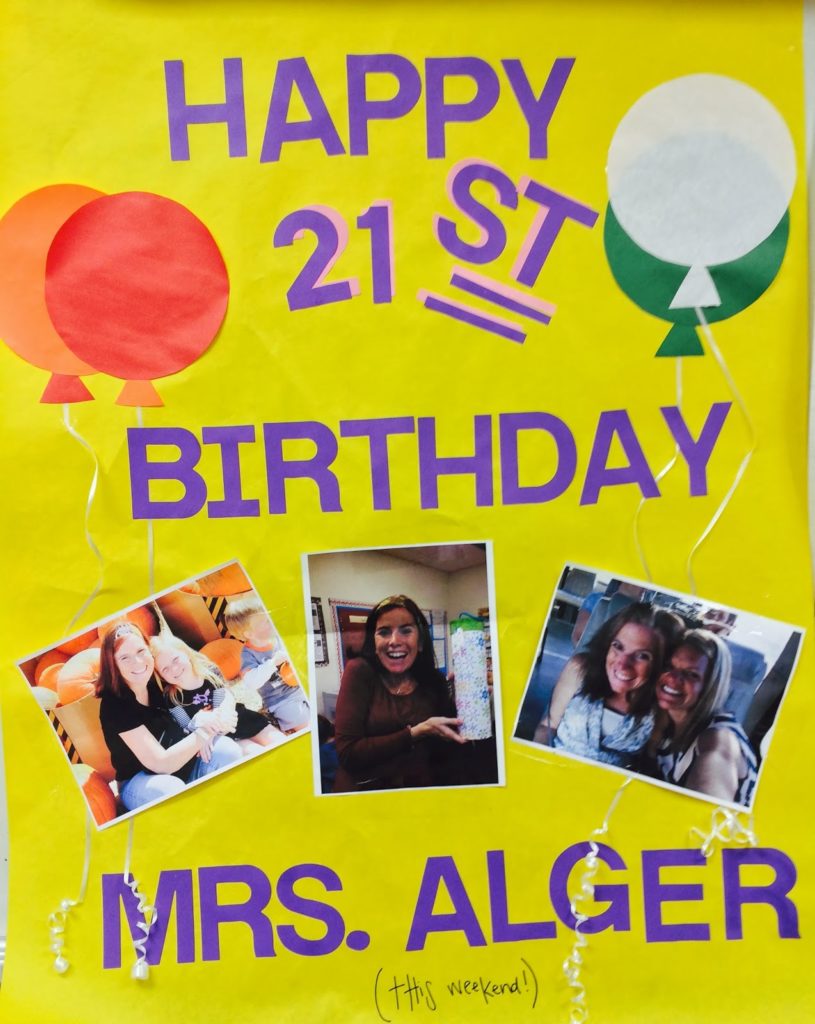
Decorating the teacher’s classroom
is also, a nice added touch.
{Although Carson did NOT think that it was funny that I put 21 on her sign. He adimantly had to keep telling me that she was older than that. Ha!!}
 |
| Best 2nd grade Teacher EVER! |
We love Mrs. Alger!!

You have serious creativity skills. Love it! We just got our necklaces yesterday and LOVE them!! Thank you thank you again!!!!
Yay!!! So glad they arrived…aren't they the cutest?!